DIY Standalone Weather Station Powered by Arduino 5 Steps with Circuit Diagram This durable arduino weather station kit includes an anemometer, wind vane, rain bucket and DH11 temperature and humidity sensor. It can transmit data via serial or RF interfaces. This tutorial will demonstrate how to assemble the weather station kit, how to set up basic serial communication to an Bluno M3 and how to output data readings
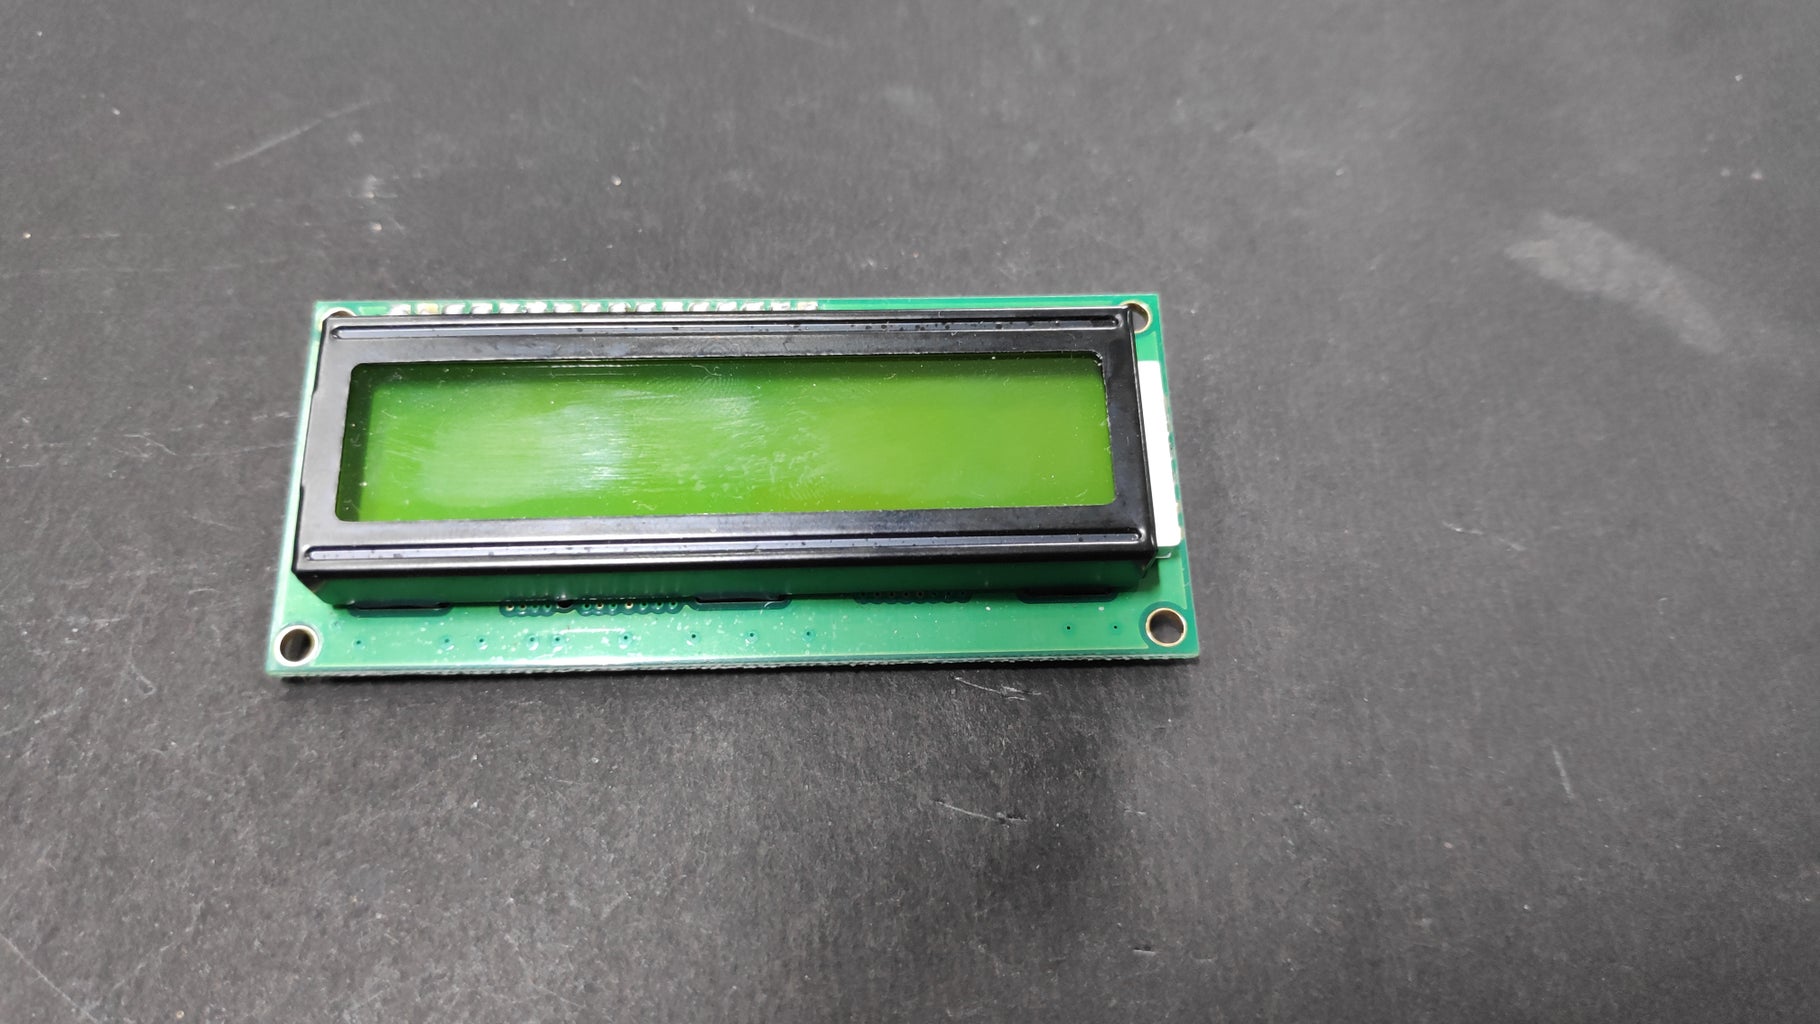
The Arduino Weather Station uses the DHT11 sensor to read the surrounding temperatures and humidity. This sensor is capable of reading temperatures in the range from 0°C to 50°C with a variation of ± 2°C. The reading of Humidity ranges between 20% to 80% with a variation of ±5%. the sensor has a data sampling rate of 1Hz, which means it Hello Guys, In this Instructable I will explain how to make simple weather station to sense temperature and humidity using DHT11 sensor and Arduino, the sensed data will be displayed on LCD Display. Before starting this instructable you must know some information about the DHT11 sensor. For more information visit Electronics Projects Hub
DIY Arduino Weather Station Using DHT11 Sensor Circuit Diagram
I built an Arduino Weather Station. It uses a DHT 11 (it will also work with DHT21 DHT22).\r\n Arduino Wireless Weather Station: In this Instructable I am going to show you how to build a Wireless Weather Station with a big 3.2" Color TFT display using Arduino. Building a Wireless Weather Station is a great learning experience. When you finish building this project you will h… Use an Arduino to make your own backyard weather station and get accurate results for your location. Network Sites: Latest; Forums; Education; Tools; Videos; Datasheet; Uploading the Code for the Arduino Weather Station Copy and paste the code below into your Arduino IDE and save the sketch. Next, upload the code to your Arduino.
If you're interested in combining hardware and software skills, building a weather station with Arduino is a perfect beginner project. In this post, we'll discuss the various components you need to build a weather station with Arduino and share tips and tricks for programming the Arduino to collect data from sensors and display the information on a web page. Components Needed To build a Let's Build the Weather Station Step 1: Set Up the Hardware Connections. To begin with, all the parts should be hooked up to the Arduino using the following connections: DHT11 Sensor This device has three pins: VCC (power), GND (ground), and Data (signal). Insert VCC into the 5V pin on Arduino; Insert GND on the GND on the Arduino. What is Arduino Weather Station? The weather station is a device used to sense the climatic conditions of a place such as temperatures, humidity, wind speed, etc. This can be customized on the need at a specific place. Here, we made a weather station for our small-scale application using Arduino and DHT11 Temperature and Humidity Sensor. Also